Food & Beverage
How is Vinegar Made and How Can It Be Made at Home? A Step-by-Step Guide
Vinegar, a kitchen staple worldwide, has a rich history and versatile applications. This guide explores the science behind vinegar production, detailing the fermentation process where alcohol turns into acetic acid with specific bacteria. It covers both commercial methods and home crafting essentials. Whether you’re troubleshooting issues or discovering benefits of homemade vinegar, this guide provides valuable insights for all DIY enthusiasts.
The Science Behind Vinegar Production
Vinegar, a staple in kitchens around the world, owes its unique tangy flavor to a fascinating biochemical process. At the heart of vinegar production is the vinegar fermentation process, which involves the conversion of alcohol into acetic acid. This transformation is primarily driven by acetic acid bacteria (AAB), a group of microorganisms that thrive in environments rich in ethanol.
The journey from alcohol to acetic acid begins when these bacteria oxidize ethanol (the type of alcohol found in beverages like wine and beer) to produce acetic acid. This biochemical reaction occurs in two main stages: first, ethanol is converted into acetaldehyde by an enzyme called alcohol dehydrogenase; then, acetaldehyde is further oxidized into acetic acid by another enzyme known as aldehyde dehydrogenase.
For optimal vinegar production, specific conditions must be maintained. The presence of oxygen is crucial since AAB are aerobic organisms that require oxygen to function effectively. Additionally, temperature and pH levels need to be carefully controlled to ensure the bacteria remain active and productive throughout the fermentation process.
Understanding this intricate interplay between microorganisms and their environment not only highlights the complexity behind something as simple as vinegar but also underscores the importance of scientific principles in everyday food production processes.
Commercial Methods of Making Vinegar
Vinegar, a versatile and widely used product, is produced through various commercial methods to meet the demands of different industries. Industrial vinegar production primarily involves large-scale fermentation processes that efficiently convert ethanol into acetic acid. The two main commercial vinegar making methods are the Orleans process and the submerged fermentation process.
The Orleans Process is one of the oldest methods of producing vinegar on a commercial scale. It relies on natural fermentation, where alcohol-containing liquids such as wine or cider are exposed to air in wooden barrels. Over time, acetic acid bacteria convert the ethanol into acetic acid. This method is known for producing high-quality vinegar with rich flavors but is relatively slow and less efficient for large-scale production.
In contrast, the Submerged Fermentation Process is commonly used in modern industrial settings due to its efficiency and scalability. This method employs stainless steel fermenters with continuous aeration systems that supply oxygen to submerged cultures of acetic acid bacteria. The constant supply of oxygen accelerates the conversion rate of ethanol to acetic acid, allowing for rapid production cycles and higher yields compared to traditional methods.
Both these commercial vinegar-making methods play crucial roles in ensuring a steady supply of this essential condiment across various sectors, from culinary applications to industrial uses like cleaning agents and preservatives. As technology advances, innovations in large-scale vinegar fermentation continue to enhance production efficiency while maintaining quality standards.
Essential Ingredients and Tools for Homemade Vinegar
Creating your own vinegar at home can be a rewarding and fulfilling process, but it requires some essential ingredients and tools to ensure success. Understanding these basics will help you produce high-quality homemade vinegar that you can use in various culinary applications.
Homemade Vinegar Ingredients
The primary ingredient for making vinegar is a source of alcohol. Most commonly, people use wine, beer, or cider as the base. For those looking to experiment, almost any alcoholic beverage can be converted into vinegar. Another crucial ingredient is a mother of vinegar—a culture of acetic acid bacteria—that kickstarts the fermentation process.
Tools for Making Vinegar at Home
- Glass or Ceramic Containers: Non-reactive containers are essential to avoid any unwanted chemical reactions during fermentation. Glass jars or ceramic crocks are ideal choices.
- Cheesecloth or Coffee Filters: These materials are used to cover the containers, allowing air to circulate while keeping contaminants out.
- Rubber Bands: To secure the cheesecloth or coffee filters in place over your container.
- Thermometer: Maintaining an optimal temperature range (60-80°F) is crucial for encouraging bacterial activity.
- pH Strips: Monitoring the acidity level ensures that your vinegar reaches the desired pH level (around 2-3).
Basic Supplies for Homemade Vinegar
In addition to the ingredients and tools mentioned above, you’ll also need clean water (preferably filtered), measuring cups and spoons for accuracy, and sterilized bottles for storing your finished product.
By assembling these essential ingredients and tools, you’ll be well-equipped to embark on your homemade vinegar journey with confidence and precision.
A Step-by-Step Guide to Making Vinegar at Home

Making vinegar at home is a rewarding and straightforward process that allows you to create a versatile ingredient for your culinary needs. Here’s a step-by-step guide to help you get started with your DIY vinegar recipe.
Step 1. Gather Your Ingredients and Equipment
To start your homemade vinegar batch, you’ll need the following:
– A large glass jar or ceramic container
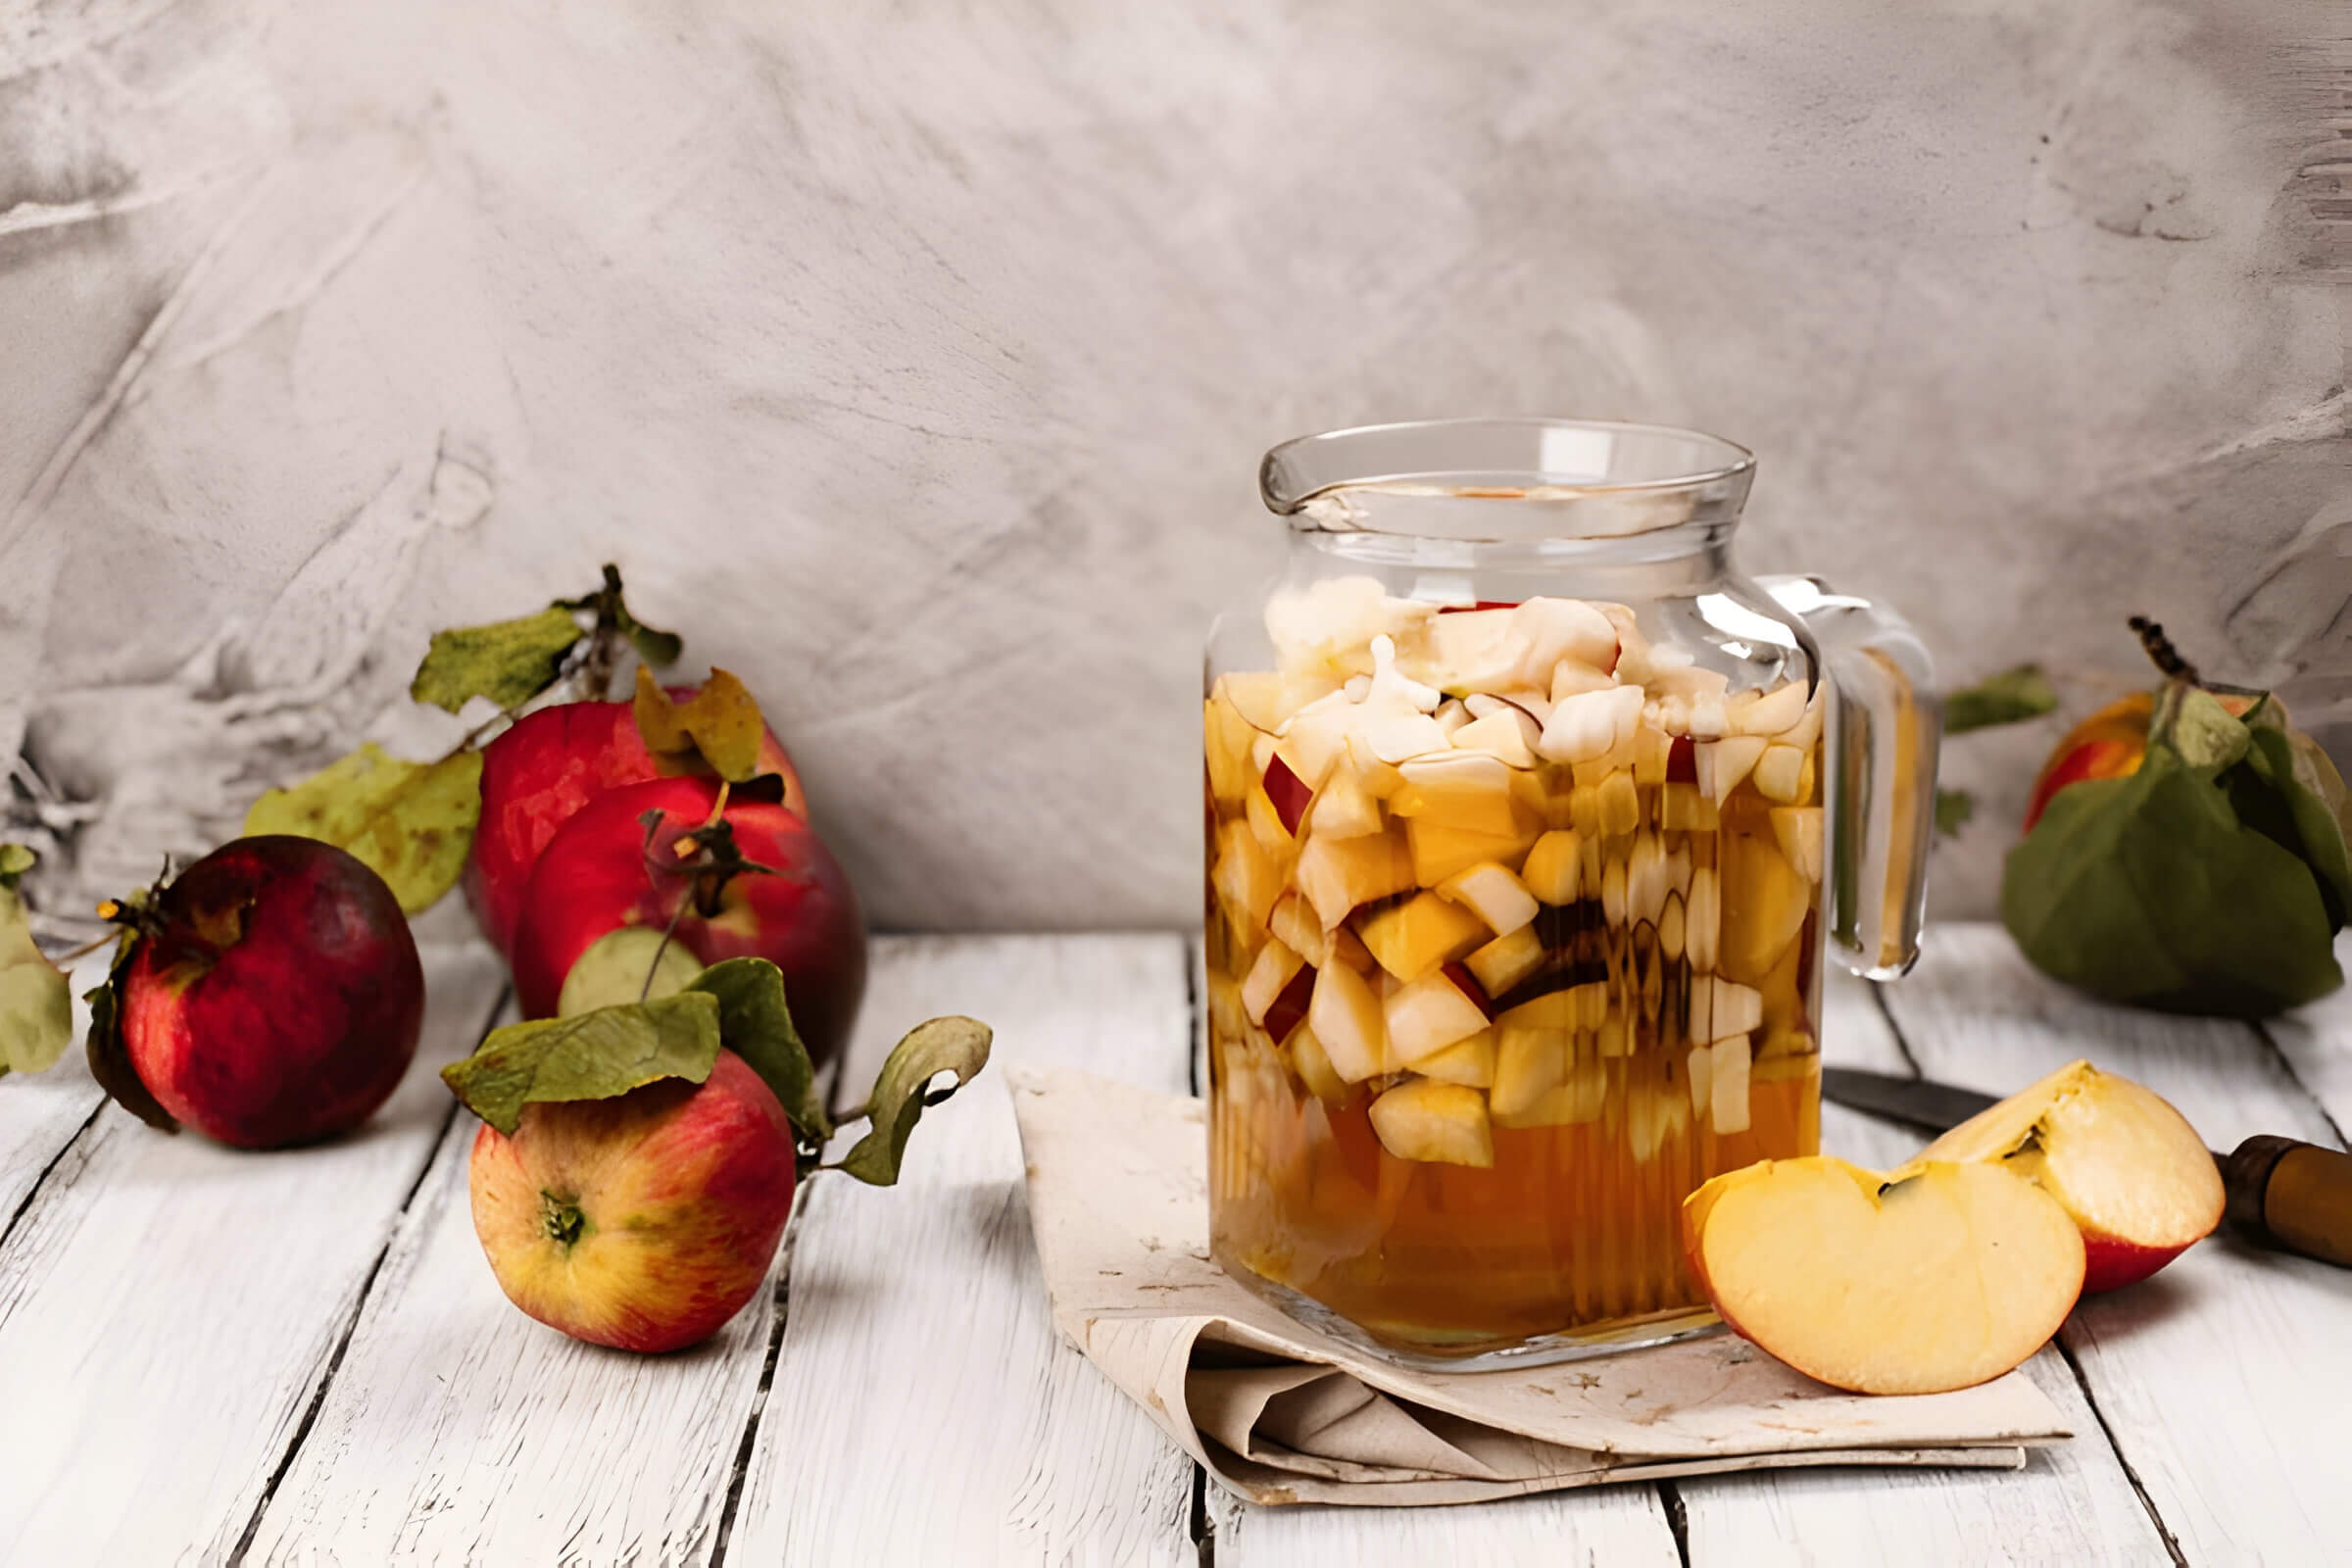
– Fruit scraps (apples are commonly used)
– Sugar
– Water
– Cheesecloth or a breathable fabric
Step 2. Prepare the Fruit Scraps
Wash your fruit scraps thoroughly to remove any dirt or pesticides. Cut them into small pieces if they aren’t already, ensuring there’s enough surface area for fermentation.
Step 3. Mix the Ingredients
Place the fruit scraps in your container. For every cup of fruit, add one tablespoon of sugar and enough water to cover the fruit completely. Stir well to dissolve the sugar.
Step 4. Cover and Store
Cover the container with cheesecloth or breathable fabric secured with a rubber band. This allows air to circulate while keeping out bugs and debris. Store it in a dark, warm place at room temperature (60-80°F) for about two weeks.
Step 5. Stir Daily
Stir the mixture daily to promote even fermentation. You’ll notice bubbles forming after a few days; this is a sign that fermentation is taking place.
Step 6. Strain and Ferment Further
After two weeks, strain out the solid fruit pieces using a fine mesh sieve or cheesecloth. Transfer the liquid back into the cleaned container, cover it again with cheesecloth, and let it ferment for another three to four weeks.
Step 7. Taste Test and Bottle
Taste your vinegar periodically until it reaches your desired level of acidity. Once satisfied, transfer it into clean bottles with airtight lids for storage.
By following this easy homemade vinegar guide, you’ll have fresh, flavorful vinegar ready for use in salads, marinades, pickling solutions, and more!
Troubleshooting Common Issues in Homemade Vinegar Production
Making your own vinegar at home can be a rewarding experience, but it’s not without its challenges. Understanding the common issues in DIY vinegar production can help you troubleshoot and perfect your process. Here are some typical vinegar making problems and how to fix them:
- Slow Fermentation: One of the most frequent issues is slow or stalled fermentation. This can be caused by low temperatures, insufficient oxygen, or an improper balance of alcohol and acetic acid bacteria. To fix this, ensure that your fermentation vessel is kept at a stable temperature between 60-80°F (15-27°C) and that it has adequate airflow.
- Off-Flavors: If your vinegar develops undesirable flavors, it could be due to contamination from unwanted bacteria or yeast strains. Always use sterilized equipment and clean water to minimize contamination risks. Additionally, using fresh ingredients will help maintain the desired flavor profile.
- Cloudiness: Cloudy vinegar often results from suspended particles or bacterial growth during fermentation. While cloudiness isn’t harmful, it may affect the appearance of your product. Filtering the vinegar through cheesecloth after fermentation can help achieve a clearer result.
- Low Acidity: If your homemade vinegar lacks acidity, it might not have fermented long enough or may require more sugar to feed the acetic acid bacteria properly. Extending the fermentation period and ensuring an adequate sugar source (like fruit juice or wine) should enhance acidity levels.
- Mold Growth: Mold on top of your fermenting liquid is a sign that something went wrong with hygiene practices or environmental conditions were too humid and warm without proper ventilation. Remove any moldy layers carefully without disturbing the rest of the batch and adjust storage conditions accordingly.
By addressing these common issues in DIY vinegar production, you can improve both the quality and consistency of your homemade vinegars, turning potential mistakes into valuable learning experiences for future batches!
The Benefits and Uses of Homemade Vinegar
Homemade vinegar offers a plethora of benefits and uses that make it a valuable addition to any household. One of the primary advantages of homemade vinegars is their purity and natural composition. Unlike commercial varieties, which may contain additives and preservatives, DIY vinegars are free from artificial ingredients, ensuring a healthier option for consumption.
The health benefits of natural vinegars are extensive. Rich in acetic acid, homemade vinegar can aid in digestion, help regulate blood sugar levels, and even support weight loss efforts. Additionally, the probiotics found in naturally fermented vinegars contribute to a healthy gut microbiome, enhancing overall well-being.
Beyond health advantages, the uses for DIY vinegars are incredibly versatile. In the kitchen, they serve as excellent bases for salad dressings, marinades, and pickling solutions. Their unique flavors can elevate dishes by adding depth and complexity. Outside of culinary applications, homemade vinegars can be used for cleaning purposes due to their antibacterial properties. They effectively remove stains and odors without relying on harsh chemicals.
In conclusion, the benefits and uses of homemade vinegar extend far beyond its basic function as an acidic ingredient. From promoting better health to providing eco-friendly cleaning solutions, natural vinegars offer numerous advantages that make them worth considering for any DIY enthusiast or health-conscious individual.