Home & Family
Can Dogs Eat Shrimp? A Guide to Feeding Seafood to Your Pet
Treating your furry friend with shrimp can be tempting, but it’s crucial to understand the risks and proper preparation. This guide examines if dogs can safely eat shrimp and offers tips for serving it. We’ll cover the dangers of raw or improperly cooked shrimp and signs of allergic reactions and suggest safe, nutritious seafood alternatives for your dog.
Potential Risks Associated with Feeding Shrimp to Dogs
Feeding shrimp to dogs might seem like a harmless treat, but there are several potential risks that pet owners should be aware of. One of the primary dangers of shrimp for dogs is the possibility of allergic reactions. Just like humans, some dogs can have severe allergies to shellfish, leading to symptoms such as itching, swelling, and even difficulty breathing.
Another concern is shellfish safety for canines. Shrimp shells can be particularly hazardous as they pose a choking risk and can cause obstructions in the digestive tract. It’s crucial always to remove shells before offering shrimp to your dog.
Food poisoning risks in dogs also cannot be overlooked. Raw or undercooked shrimp may contain harmful bacteria such as Salmonella or E. coli, which can lead to serious gastrointestinal issues in pets. To minimize these risks, it’s essential only to feed your dog thoroughly cooked shrimp and ensure it is free from any seasonings or additives that could further harm their health.
In summary, while shrimp might seem like a tasty treat for your canine companion, it’s important to consider these potential dangers before incorporating it into their diet regularly. Always consult with your veterinarian if you have any concerns about introducing new foods into your dog’s meal plan.
How to Safely Prepare Shrimp for Your Dog
When it comes to cooking shrimp for dogs, ensuring safety and nutritional value is paramount. Shrimp can be a healthy treat for your canine companion if prepared correctly. Here are some safe seafood preparation methods to consider:
1. Choose Fresh or Frozen Shrimp: Always select high-quality shrimp, either fresh or frozen. Avoid pre-cooked or seasoned varieties as these may contain additives harmful to dogs.
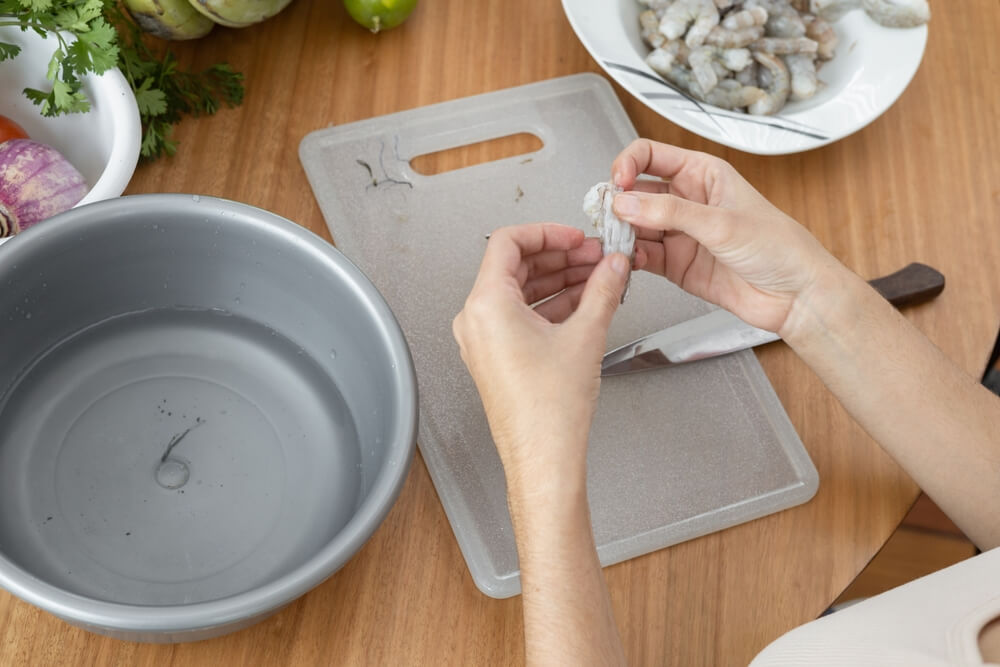
2. Thorough Cleaning: Rinse the shrimp thoroughly under cold water to remove any contaminants. Peel off the shell entirely and devein the shrimp by removing the dark vein that runs along its back, as it may contain impurities.
3. Cooked vs Raw Shrimp: While some pet owners debate between raw vs cooked shrimp for pets, it’s generally safer to serve cooked shrimp. Cooking eliminates potential pathogens and parasites that could be present in raw seafood.
4. Cooking Methods: Boiling or steaming are the best dog-friendly shrimp recipes because they avoid added fats and seasonings that can upset your dog’s stomach. Simply bring a pot of water to a boil, add the cleaned shrimp, and cook until they turn pink (about 2-3 minutes). Alternatively, you can steam them using a steamer basket over boiling water.
5. Portion Control: Once cooked, allow the shrimp to cool completely before serving it to your dog in small portions as an occasional treat rather than a regular meal component.
By following these guidelines on cooking shrimp for dogs, you can offer this delicious seafood safely while ensuring your pet enjoys all its nutritional benefits without any risks associated with improper preparation methods.
Nutritional Benefits of Shrimp for Dogs
Shrimp can be a delightful and nutritious addition to your dog’s diet. Packed with essential nutrients, shrimp offers several benefits that contribute to your pet’s overall health and well-being. One of the primary shrimp benefits for dogs is its high protein content, which supports muscle development and repair. Healthy proteins for canines are crucial, especially for active breeds that require sustained energy levels.
In addition to protein, shrimp provides a wealth of vitamins and minerals. Shrimp nutrients for pets include vitamin B12, which is vital for maintaining a healthy nervous system and supporting metabolic functions. Another notable component is phosphorus, an essential mineral that plays a key role in bone health.
Seafood vitamins for dogs also extend to antioxidants like selenium. Selenium helps combat oxidative stress and supports immune function, making it a valuable addition to any canine diet. Moreover, shrimp contains omega-3 fatty acids, known for their anti-inflammatory properties and benefits in promoting skin health and a shiny coat.
When incorporating shrimp into your dog’s diet, it’s important to ensure it is cooked thoroughly without any added seasonings or oils that could be harmful. Moderation is key; while shrimp offers numerous nutritional advantages, it should complement a balanced diet tailored to your pet’s specific needs.
By understanding the nutritional benefits of shrimp for dogs, pet owners can make informed decisions about including this seafood in their furry friend’s meal plan responsibly.
Signs of Allergic Reactions or Intolerance in Dogs Eating Shrimp
When introducing new foods such as shrimp into your dog’s diet, it’s crucial to monitor for any signs of allergic reactions or intolerance. Dog allergy symptoms from seafood can manifest in various ways, and being vigilant can help ensure your pet’s health and well-being.
Common signs of an allergic reaction include itching, redness, and swelling of the skin. You might notice your dog scratching more than usual or developing hives. Gastrointestinal symptoms are also prevalent; these can range from vomiting to diarrhea. In severe cases, dogs may experience difficulty breathing or swelling around the face and throat conditions that require immediate veterinary attention.
Identifying intolerances in pets involves careful observation after they consume new foods like shrimp. Keep an eye on any changes in behavior or physical condition over a period of time. Chronic ear infections, persistent paw licking, and changes in bowel habits can all be indicators that your dog is not tolerating the food well.
Monitoring your dog’s health after eating new foods is essential for early detection of potential issues. If you suspect an allergy or intolerance, consult with your veterinarian to determine the best course of action. They may recommend dietary adjustments or specific tests to identify the allergen responsible for your dog’s discomfort.
By staying informed and attentive to these signs, you can help maintain your dog’s health and happiness while safely expanding their diet with new treats like shrimp.
Alternative Seafood Options and Treats Safe for Dogs
When it comes to diversifying your dog’s diet, seafood can be a healthy and nutritious option. However, it’s essential to choose suitable seafood treats for dogs that are safe and beneficial for their health. Fish alternatives for pets’ diet offer a range of nutrients, including omega-3 fatty acids, which are excellent for maintaining a shiny coat and supporting joint health.
Pet-friendly seafood options include fish types like salmon, which is rich in protein and healthy fats. Make sure the salmon is cooked thoroughly to eliminate any harmful bacteria or parasites. Another safe fish type for canines is whitefish such as cod or haddock; these are low in fat and easy on your dog’s digestive system.
When considering alternative seafood options, always avoid fish with high mercury levels like swordfish or mackerel. Additionally, steer clear of shellfish as they can cause allergic reactions in some dogs. By selecting the right pet-friendly seafood options, you can provide your canine companion with delicious and nutritious treats that contribute positively to their overall well-being.
Making Informed Decisions About Including Shrimp in Your Dog’s Diet
When considering whether to include shrimp in your dog’s diet, it’s essential to weigh the benefits and potential risks. Shrimp can be a valuable source of protein, vitamins, and minerals that contribute to your dog’s overall health. However, it is crucial to ensure that the shrimp is cooked thoroughly and served plain, without any seasoning or additives that could harm your pet.
Additionally, always monitor your dog for any signs of allergic reactions or digestive issues when introducing shrimp for the first time. Consulting with your veterinarian before making any significant changes to your dog’s diet is always a wise step. By taking these precautions and making informed decisions, you can safely incorporate shrimp into your dog’s meals as an occasional treat or dietary supplement.

A clogged toilet is inconvenient, but knowing how to quickly fix it is essential for homeowners. This guide covers the importance of unclogging toilets, common causes, and emergency plumbing tips. Whether facing a minor or stubborn clog, we’ll provide the necessary tools and step-by-step instructions for various methods. You’ll also learn preventive measures to avoid future issues.
Why You Need to Know How to Unclog a Toilet
Knowing how to unclog a toilet is an essential skill for every homeowner. Toilets are one of the most frequently used fixtures in any household, and encountering a clog can be both inconvenient and unpleasant. Understanding the importance of unclogging toilets promptly can save you from potential water damage, costly repairs, and unsanitary conditions.
Common toilet clogs are often caused by an excess of toilet paper, foreign objects accidentally flushed down the drain, or buildup within the plumbing system. By familiarizing yourself with basic emergency plumbing tips, you can address these issues swiftly and effectively without needing to wait for professional help.
Mastering how to unclog a toilet not only ensures that your home’s plumbing system remains functional but also provides peace of mind knowing that you’re equipped to handle such emergencies. Whether it’s using a plunger correctly or employing more advanced techniques like a plumber’s snake, having this knowledge at your disposal is invaluable.
Essential Tools You’ll Need for the Job
When tackling any plumbing issue, having the right tools on hand is crucial to efficiently and effectively resolving the problem. Here are some essential tools you’ll need for the job:
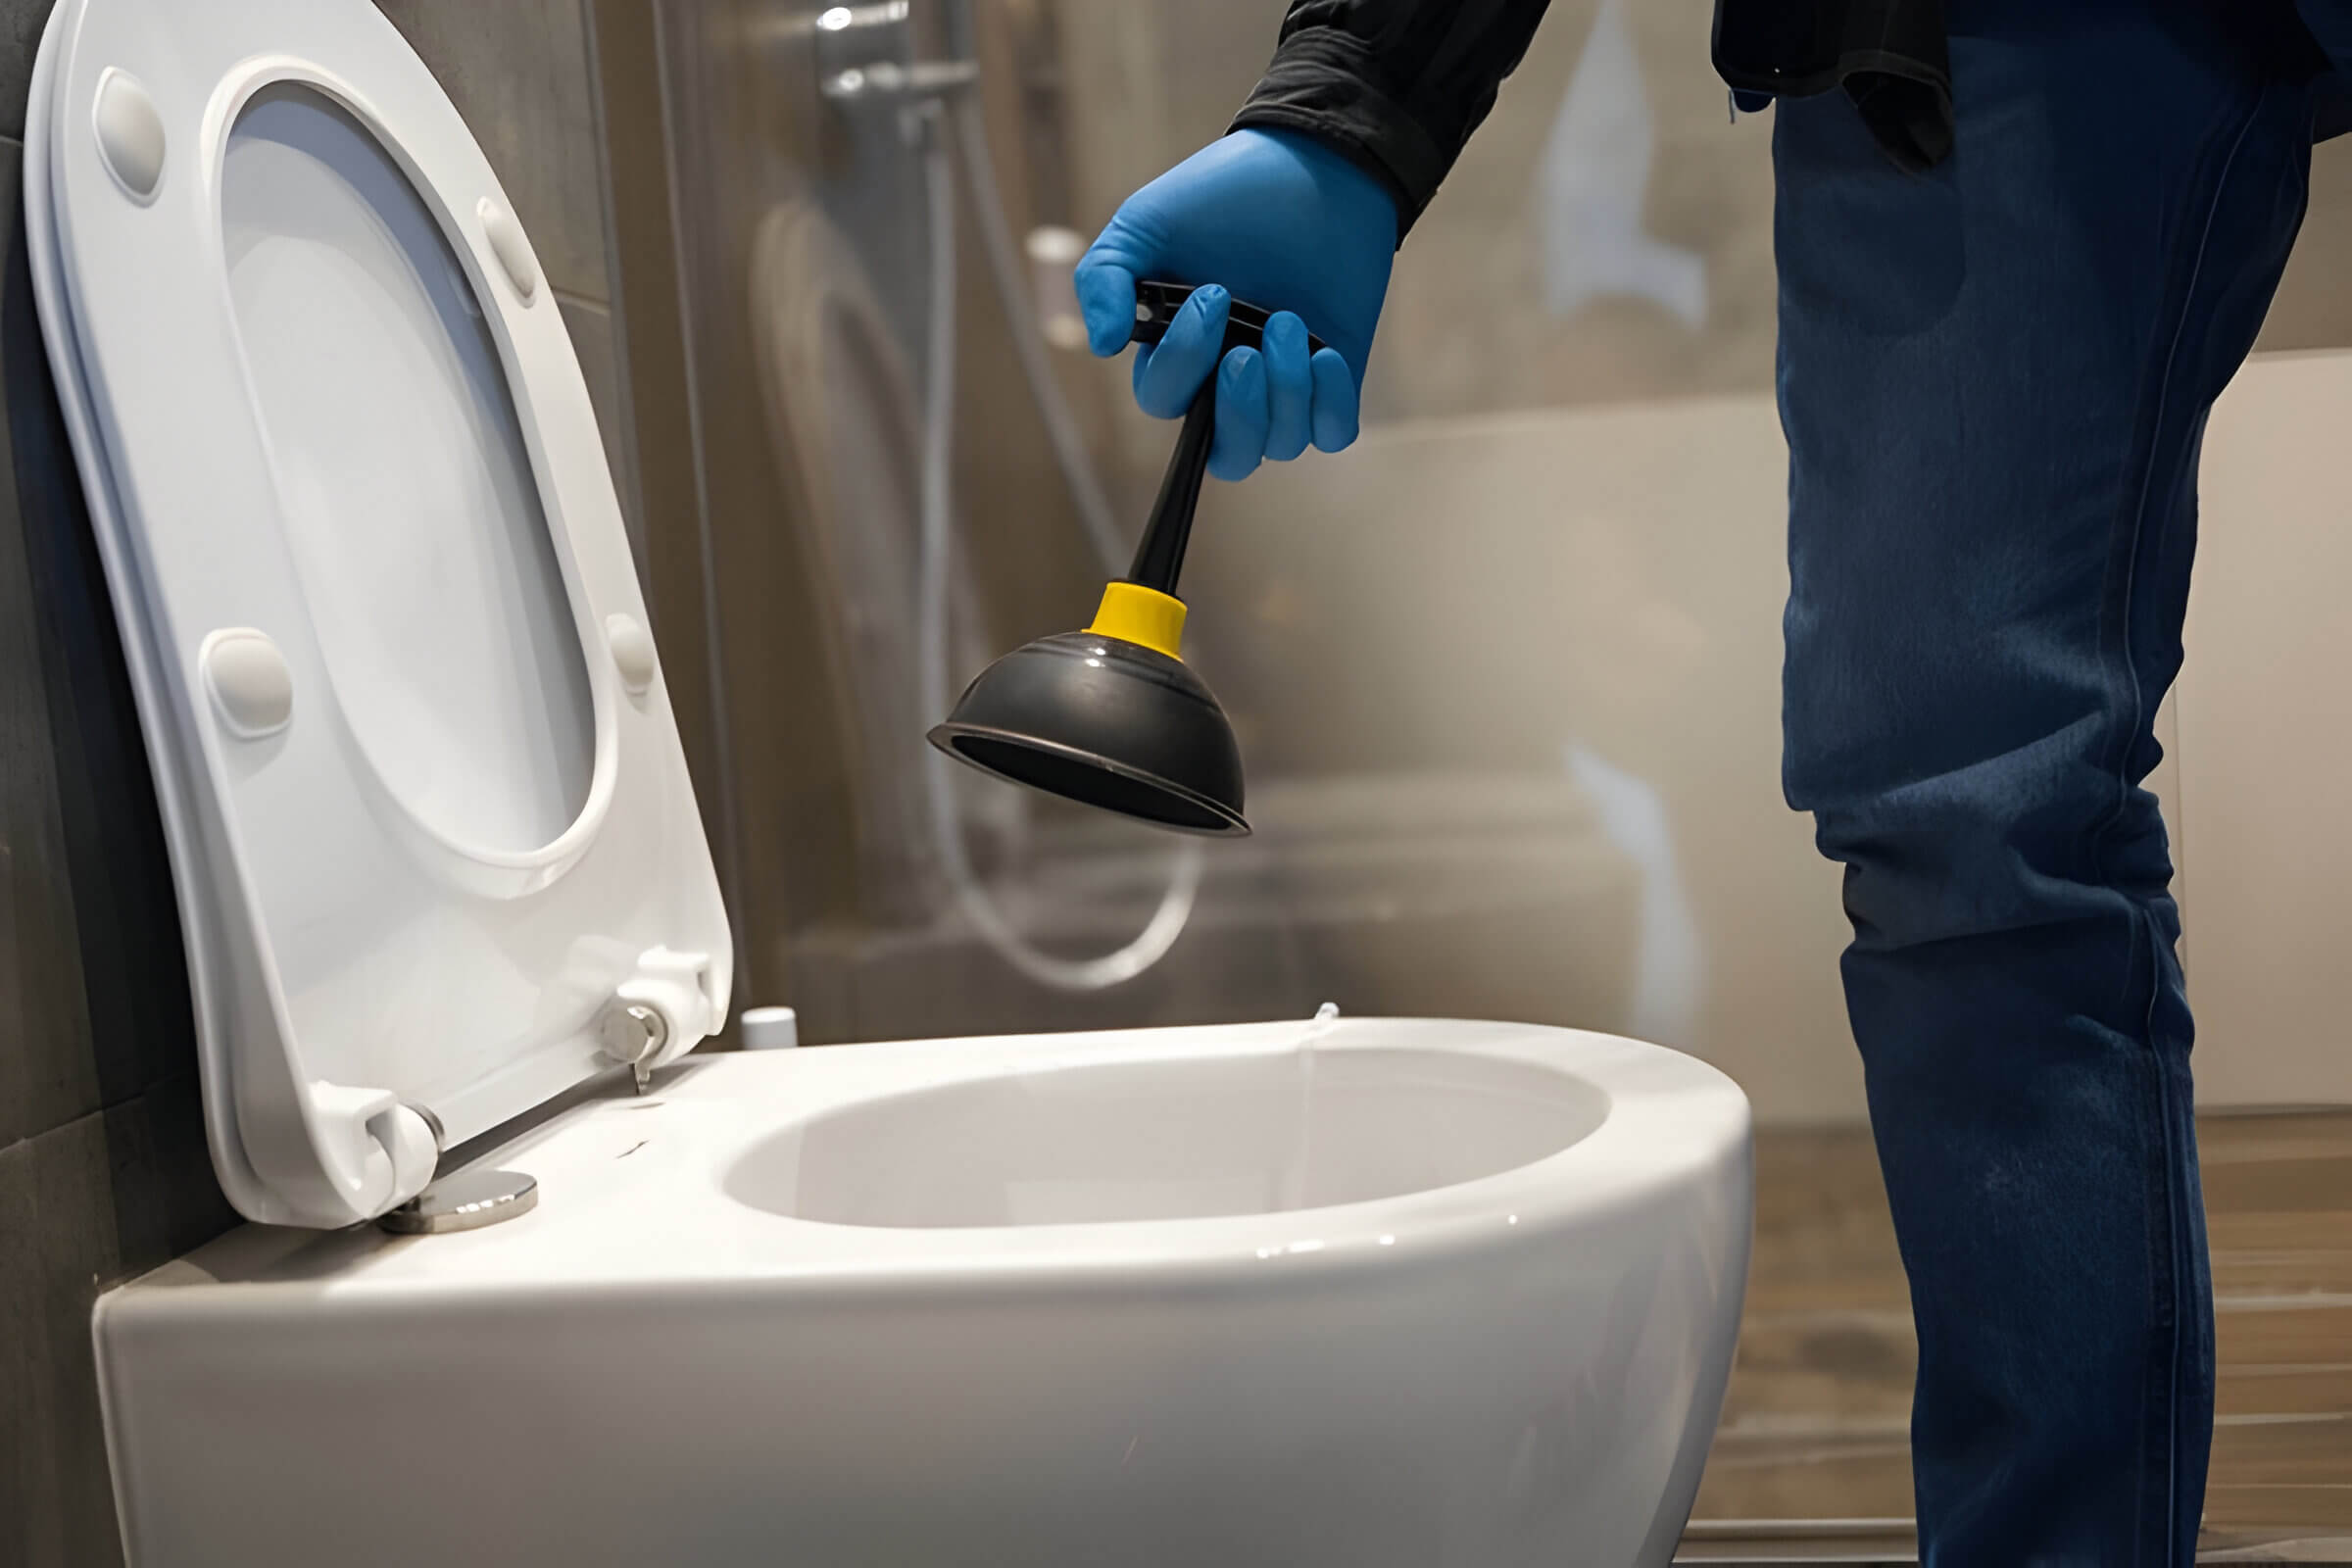
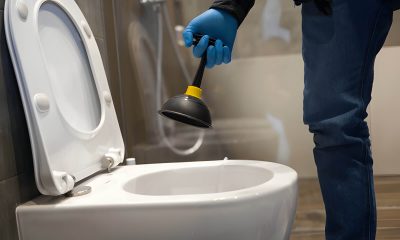
1. Toilet Plunger: A standard toilet plunger is a must-have for every household. This tool creates enough suction to dislodge minor clogs in your toilet, ensuring smooth water flow.
2. Flange Plunger: For more stubborn clogs, a flange plunger offers greater versatility and power. Its unique design allows it to create an airtight seal around the drain opening, providing stronger suction and better results.
3. Plumbing Snake: Also known as a drain snake, this flexible tool can reach deep into pipes to break up or retrieve blockages that a plunger can’t handle. It’s especially useful for clearing hair and other debris from bathroom drains.
4. Toilet Auger: Specifically designed for toilets, a toilet auger can navigate through the curves of your toilet’s trapway without causing damage. It’s perfect for reaching deeper obstructions that plungers or plumbing snakes can’t address.
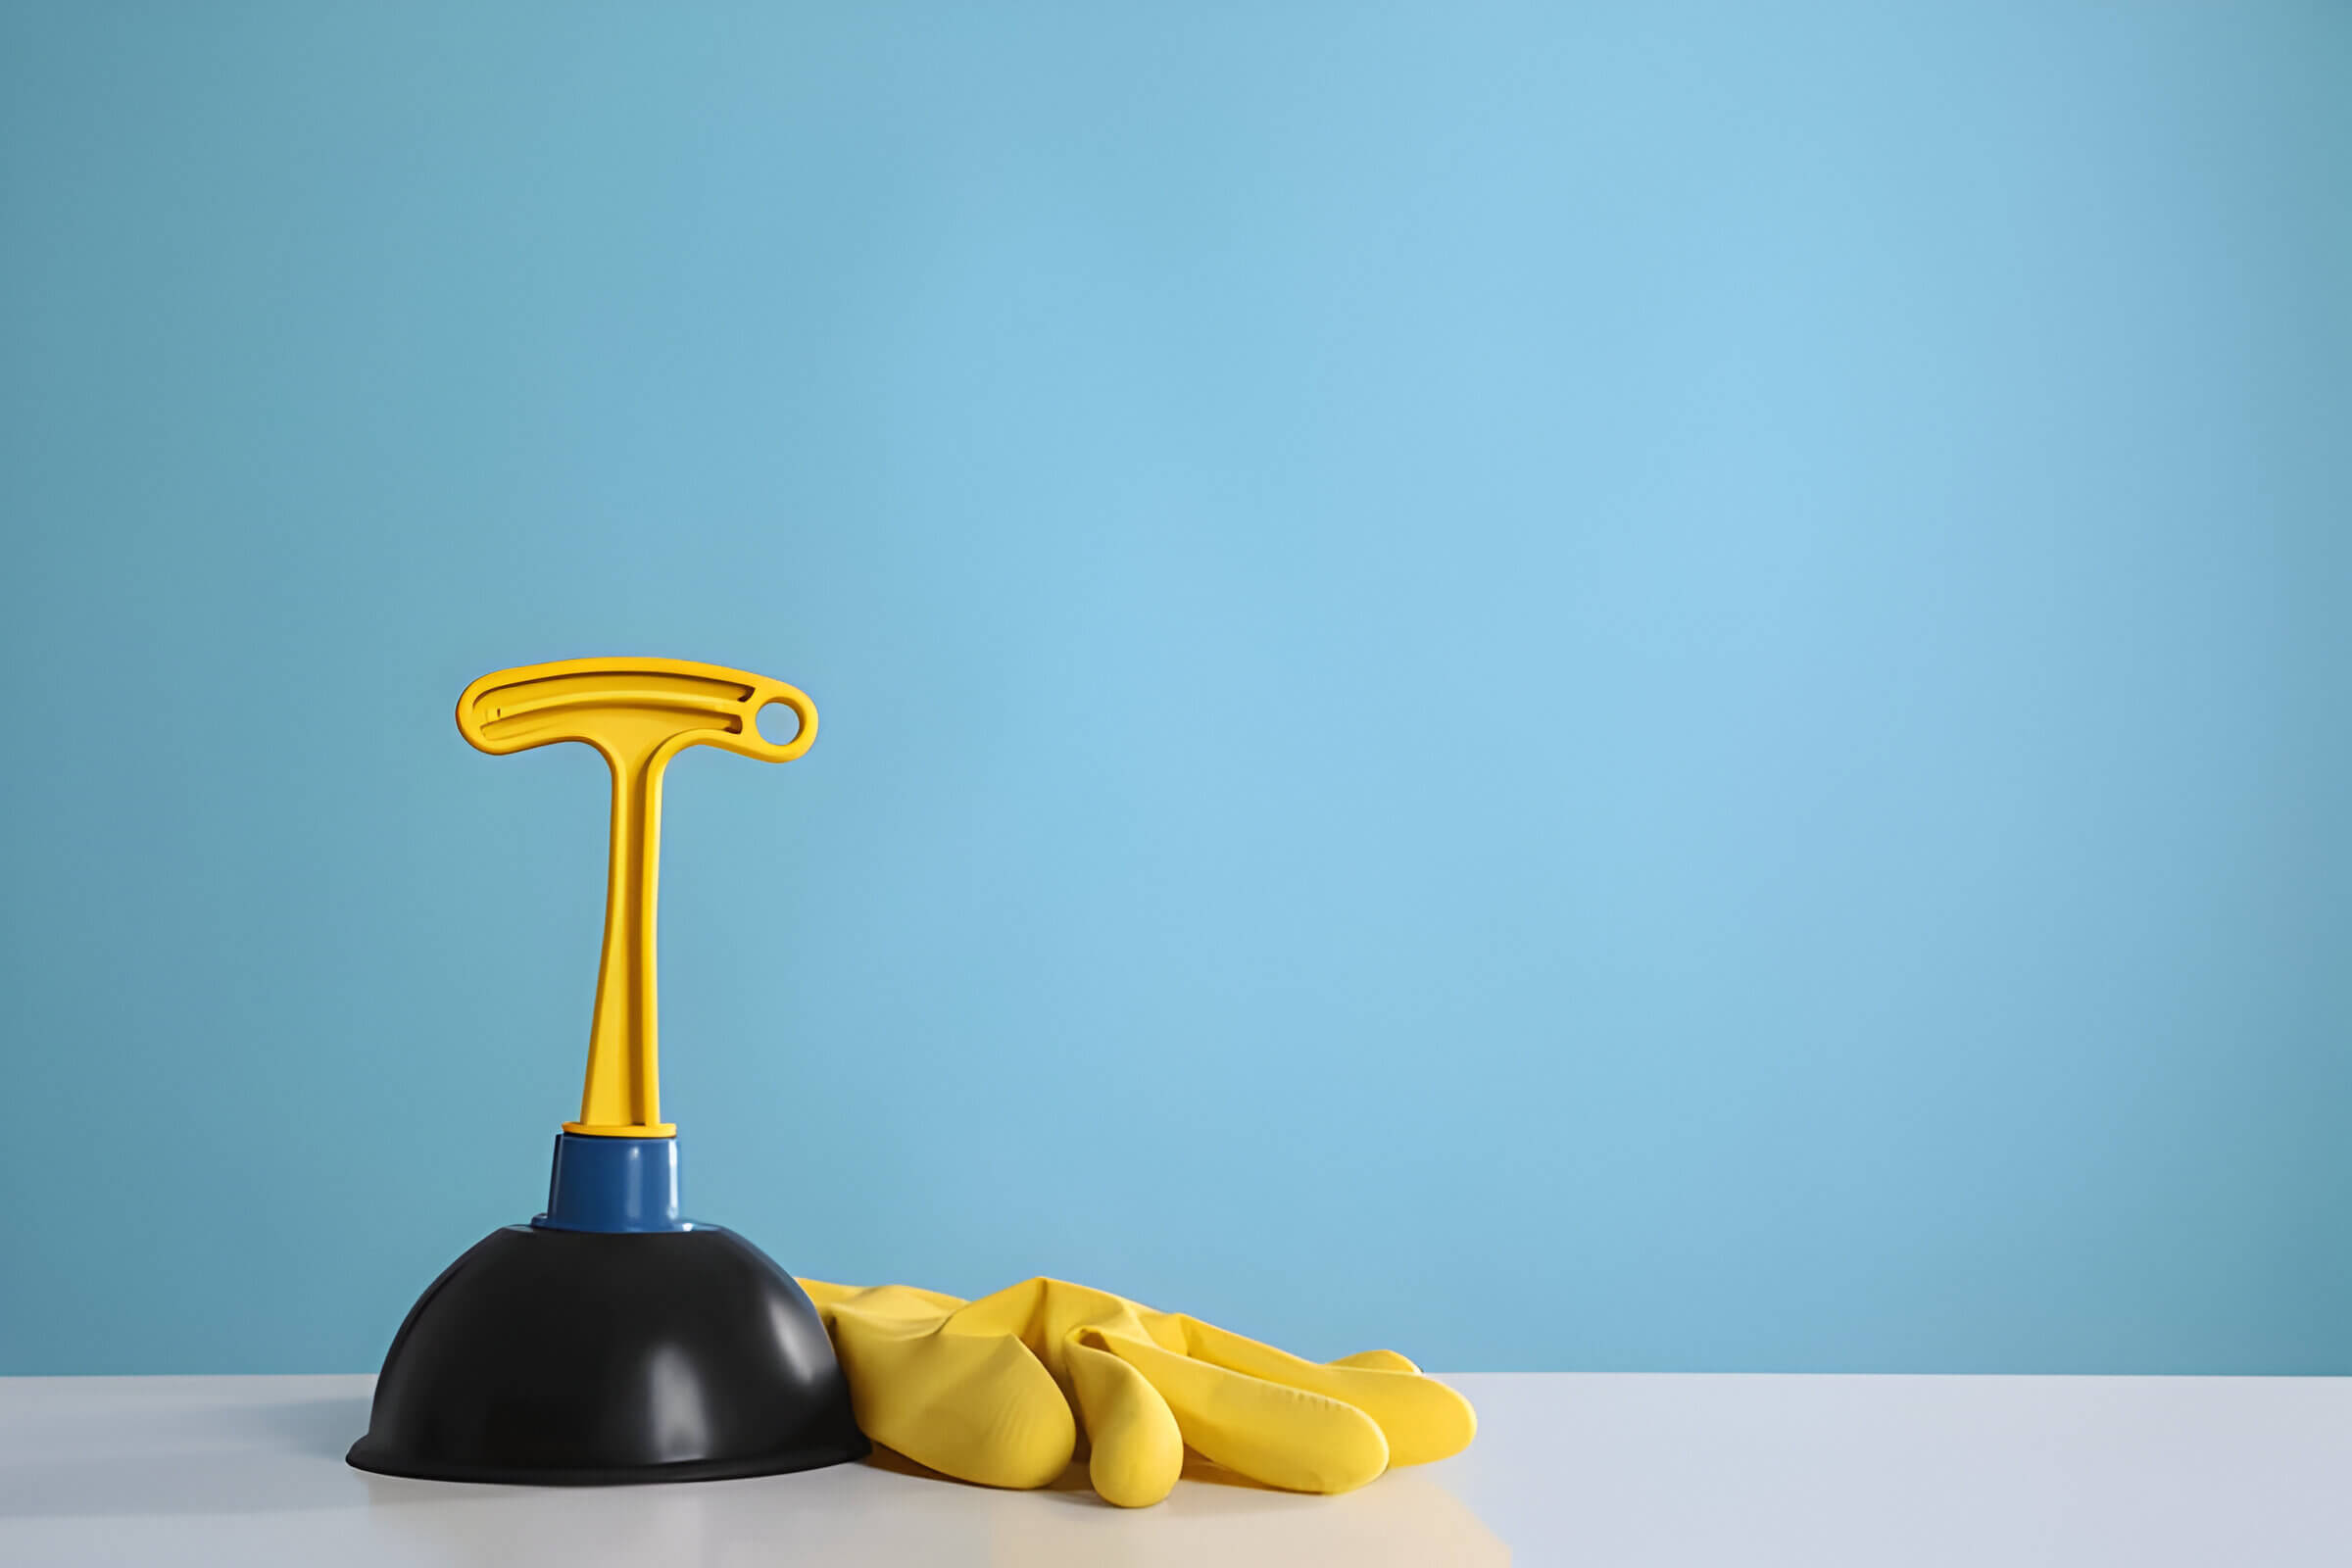
5. Rubber Gloves: Plumbing tasks often involve dealing with unsanitary conditions; therefore, sturdy rubber gloves are essential for protecting your hands from germs and chemicals.
6. Cleaning Supplies: After resolving any plumbing issue, you’ll want to thoroughly clean the affected area to prevent odors and maintain hygiene. Disinfectants, scrub brushes, and absorbent cloths are all important items to have in your cleaning arsenal.
Equipping yourself with these essential tools will prepare you for almost any common plumbing issue that may arise in your home or workplace.
Step-by-Step Guide How to Unclog a Toilet with a Plunger
Unclogging a toilet with a plunger is a straightforward process if you follow the right steps. Here’s a step-by-step guide to help you tackle this common household issue efficiently.
1. Gather Your Supplies: Before you begin, make sure you have the right type of plunger. A flange plunger, which has an extended rubber flap below the dome, is ideal for toilets as it creates a better seal.
2. Prepare the Area: Place old towels or newspapers around the base of the toilet to catch any water that might splash out during plunging. Ensure there’s enough water in the bowl to cover the head of the plunger; if not, add some manually.
3. Positioning: Insert the plunger into the toilet bowl at an angle, ensuring that it covers the drain hole completely and forms a tight seal.
4. Plunging Technique: Start by pressing down gently to expel any air trapped in the bell of your plunger. Then, use firm but controlled pushes and pulls without breaking your seal over the drain hole. The goal is to create suction that will dislodge whatever is causing your clog.
5. Effective Plunging Tips: Maintain consistency with your plunges—steady and rhythmic motions work best rather than erratic or overly forceful ones which can cause splashing or damage to plumbing fixtures.
6. Check Results: After about 10-15 plunges, lift up your plunger carefully and see if water begins draining properly from your toilet bowl indicating success in clearing out blockage; repeat process again if necessary until desired results are achieved!
7. Clean Up: Once unclogged successfully be sure rinse off any residual debris from both tool itself as well surrounding area used during operation before storing away safely for future use when needed next time around!
By following these steps on how best utilize proper techniques while using appropriate tools like flange-plungers effectively one can easily manage even toughest clogs encountered within household plumbing systems ensuring smooth functionality restored promptly!
Alternative Methods Using Household Items to Clear the Clog
When faced with a stubborn clog, you don’t always need to reach for harsh chemicals or call a plumber. There are several effective DIY clog removal solutions you can try using common household items. Here are some alternative methods that can help you clear the clog efficiently:
1. Baking Soda and Vinegar Method: This classic combination works wonders for breaking down clogs. Start by pouring half a cup of baking soda down the drain, followed by an equal amount of vinegar. The mixture will fizz and bubble, helping to dislodge debris. Let it sit for about 15 minutes before flushing with hot water.
2. Hot Water Technique: Sometimes, all it takes is boiling water to break up whatever is causing the blockage. Boil a kettle of water and carefully pour it directly into the drain in two to three stages, allowing each pour to work its way through before adding more.
3. Dish Soap Trick: If your sink is clogged with grease or oil-based substances, dish soap can be particularly effective. Pour a generous amount of dish soap into the drain and follow it up with boiling water. The soap helps to dissolve greasy residues that may be causing the clog.
These simple yet effective methods leverage everyday household items to tackle clogs without resorting to chemical solutions or professional services immediately.
Troubleshooting Stubborn Clogs with an Auger or Snake
When faced with a stubborn clog, traditional methods like plungers sometimes fall short. This is where advanced unclogging methods, such as using a plumbing snake or auger, come into play. These tools are designed to tackle clogs deep within your pipes that standard tools can’t reach.
Plumbing Snake Usage Instructions
A plumbing snake, also known as a drain snake, is a flexible metal cable that can navigate the twists and turns of your plumbing system. To use it effectively:
1. Insert the Snake: Begin by feeding the end of the snake into the drain opening.
2. Rotate and Push: Rotate the handle while gently pushing forward to help the snake maneuver through bends.
3. Break Through the Clog: Once you feel resistance, continue rotating to break up or latch onto the clog.
4. Retrieve and Clean: Slowly pull back the snake, bringing any debris with it.
How to Use an Auger on a Clogged Toilet
An auger is specifically designed for toilets and features a shorter cable with a protective rubber coating to prevent damage to porcelain surfaces.
1. Positioning: Insert the auger’s end into the toilet bowl until it reaches the trap.
2. Crank and Feed: Turn the handle clockwise while gently pushing forward until you encounter resistance.
3. Dislodge and Extract: Continue cranking to dislodge or hook onto whatever is causing the blockage.
4. Remove Carefully: Slowly retract the auger, ensuring that any debris comes out with it.
By following these advanced unclogging methods using either a plumbing snake or an auger, you can efficiently address even stubborn clogs without needing professional intervention immediately. Always remember safety first, wear gloves and eye protection when dealing with potentially hazardous materials in your drains.
Preventive Measures to Avoid Future Toilet Clogs
Preventing clogs in toilets is essential for maintaining a smoothly functioning household. One of the most effective ways to avoid future toilet clogs is by being mindful of what not to flush down the toilet. Items such as wet wipes, feminine hygiene products, cotton balls, and even excessive amounts of toilet paper can cause significant blockages. Instead, dispose of these items in a waste bin.
Regular cleaning and maintenance also play a crucial role in preventing clogs. Using mild cleaners and avoiding harsh chemicals can help preserve your plumbing system. Additionally, scheduling routine inspections by a professional plumber can identify potential issues before they become serious problems.
Another practical tip is to educate all household members about proper flushing habits. Ensuring that everyone understands the importance of only flushing appropriate items will contribute significantly to preventing clogs.
By following these simple yet effective toilet maintenance tips, you can ensure that your plumbing system remains free from blockages and operates efficiently for years to come.
Box elder bugs swarming around homes and gardens can be a nuisance. Understanding their identification, life cycle, habitats, and impact is crucial for effective management. This guide covers recognizing their features to implementing control and prevention strategies. Whether dealing with an infestation or preventing future issues, this resource helps keep your home and garden free of these pests.
What are Box Elder Bugs?
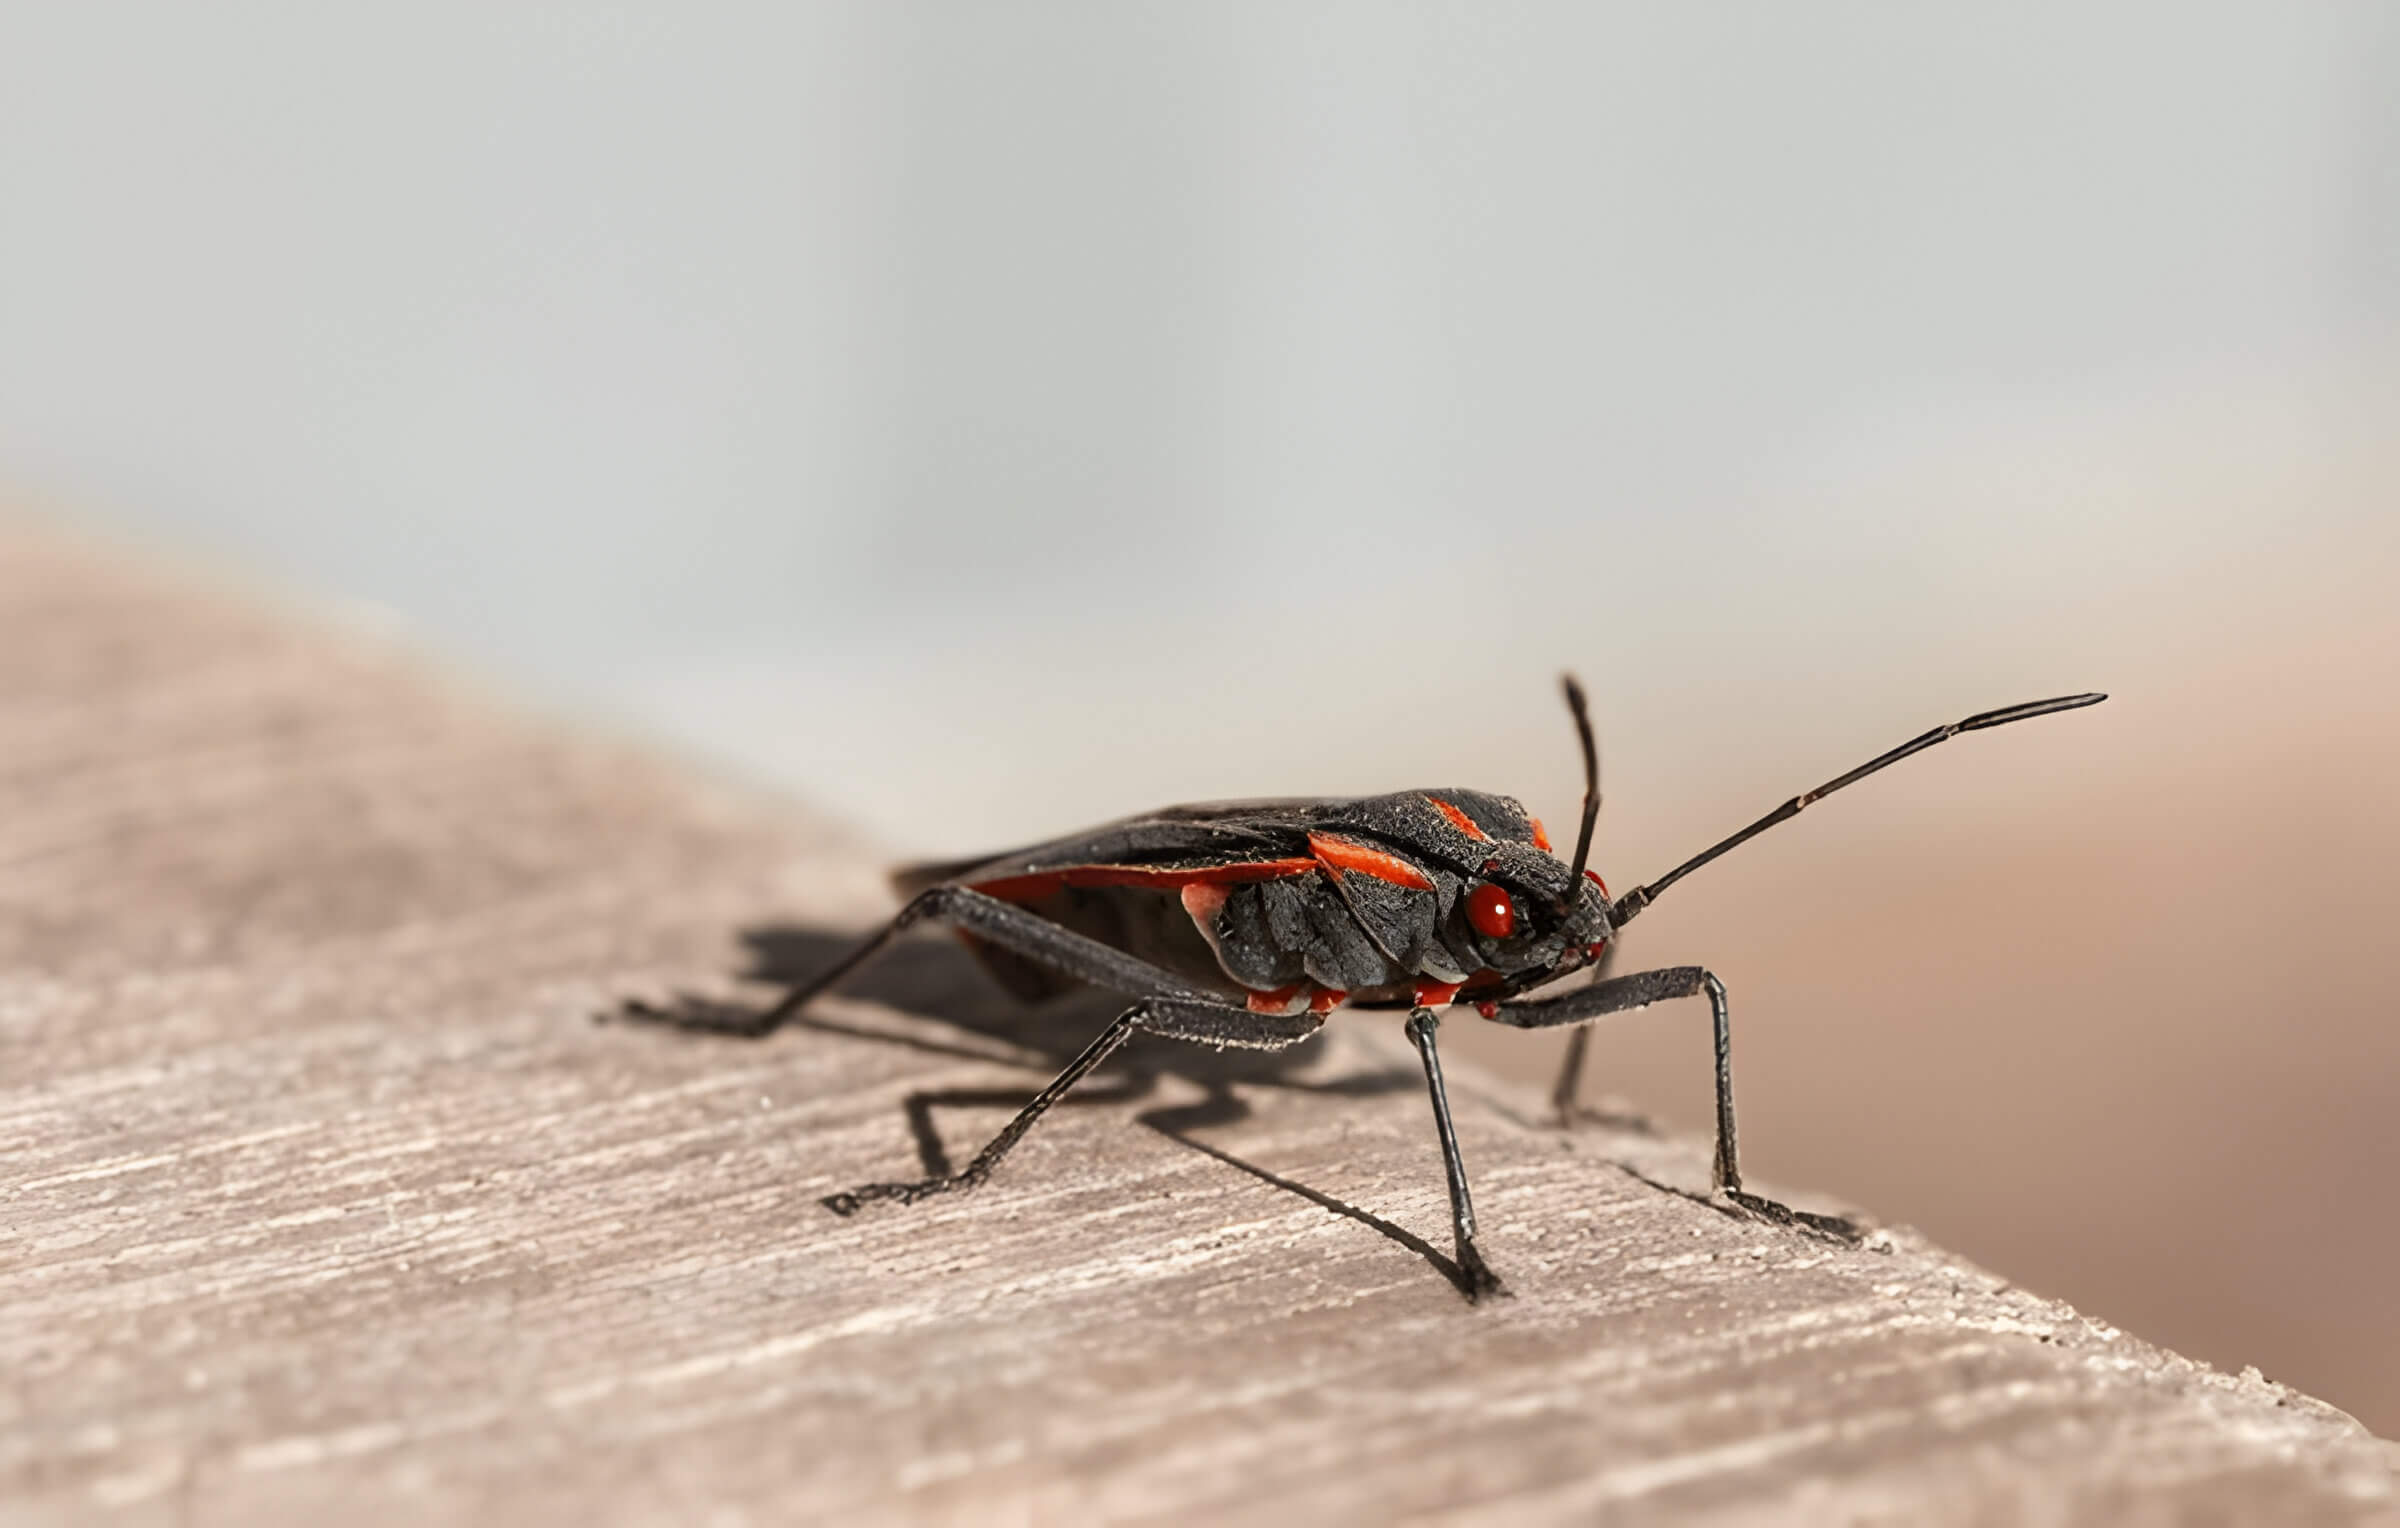
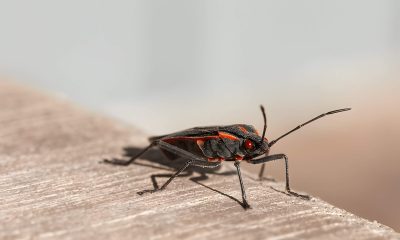
Box elder bugs, often mistaken for beetles, are a common sight in many parts of North America. These insects are easily identifiable by their distinct markings and coloration. Adult box elder bugs are about half an inch long and have a dark brown or black body with striking red or orange lines along the thorax and wings. The nymphs, or immature box elder bugs, are smaller and bright red.
One key characteristic that sets box elder bugs apart from other insects is their preference for boxelder trees, although they can also be found on maple and ash trees. During the warmer months, they feed on the seeds of these trees but generally do not cause significant harm to the plants.
As temperatures drop in autumn, box elder bugs seek shelter indoors to overwinter. They often congregate in large numbers on warm exterior walls before finding entry points into homes through cracks and crevices. While they do not bite or cause structural damage, their presence can be a nuisance due to their tendency to cluster in large groups.
Understanding how to identify box elder bugs is crucial for effective management and prevention of indoor infestations. Regularly inspecting your home’s exterior for potential entry points and sealing them can help keep these pests at bay during their search for winter refuge.
Life Cycle and Habitats of Box Elder Bugs
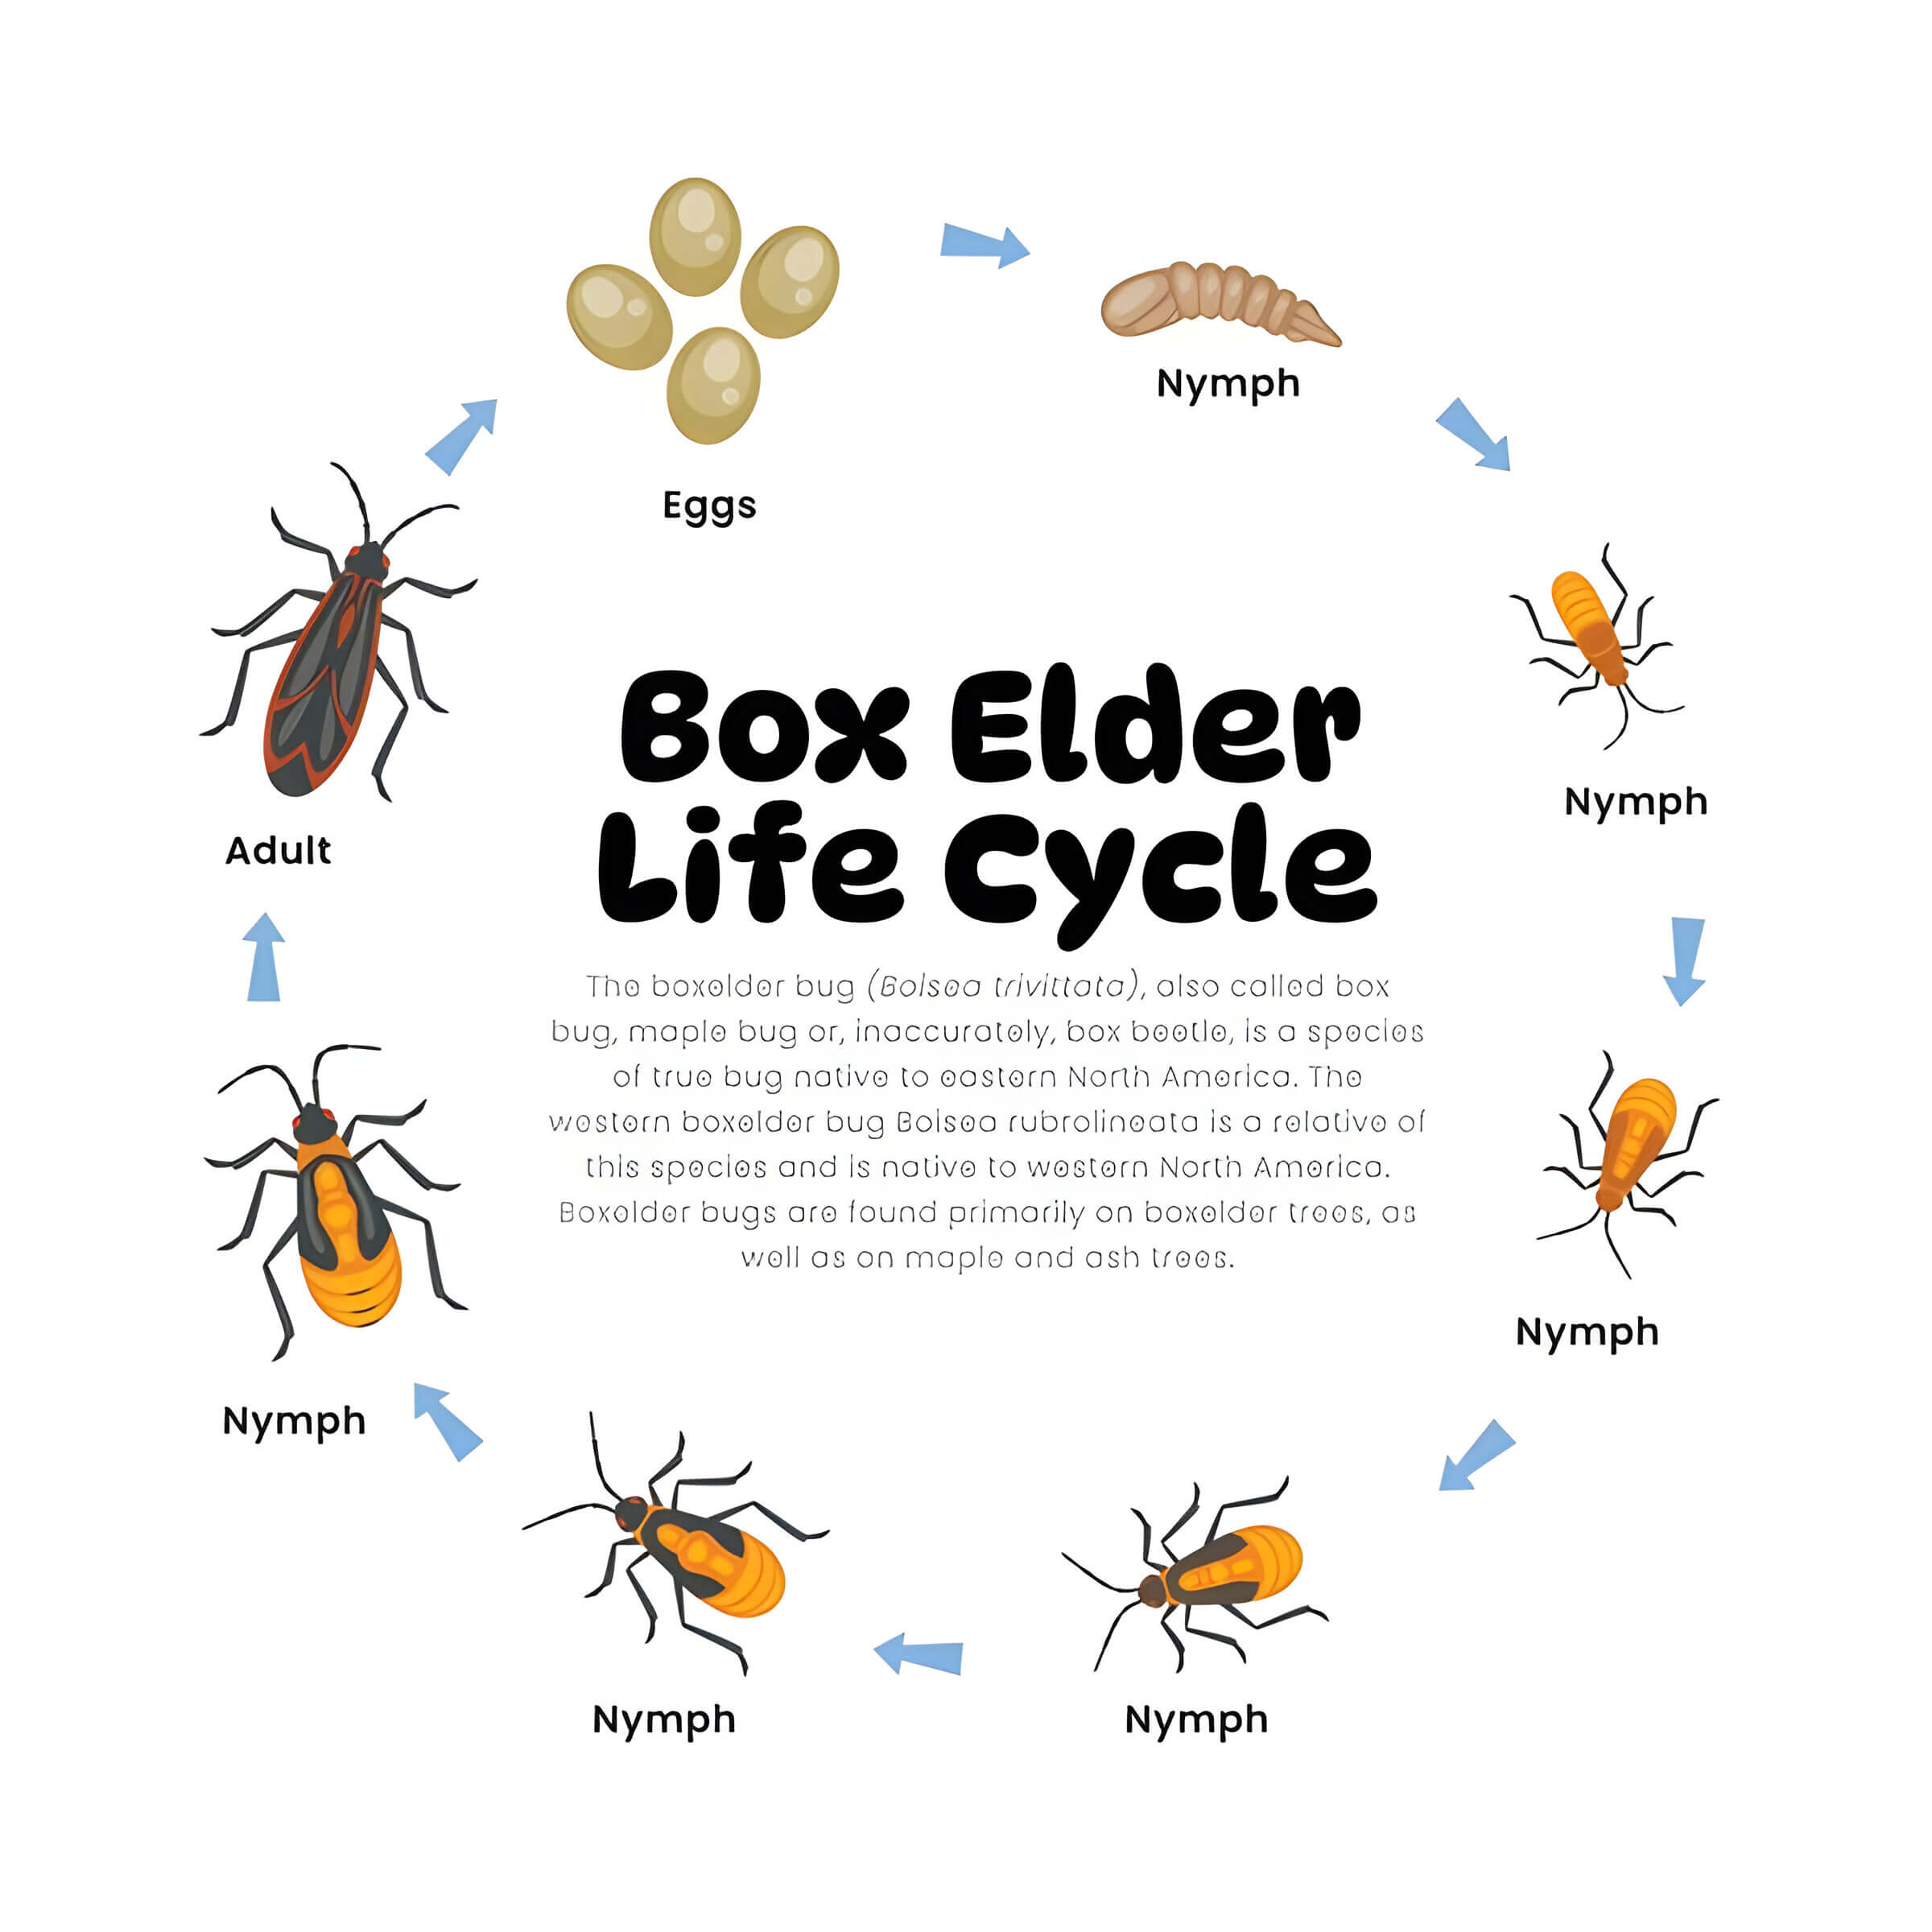
Box elder bugs, scientifically known as Boisea trivittata, are fascinating insects that undergo a simple life cycle comprising three main stages: egg, nymph, and adult. Understanding the lifecycle and habitats of box elder bugs can help in managing their populations and mitigating any potential nuisances they may cause.
The box elder bug lifecycle begins when female adults lay clusters of reddish-brown eggs on the bark of boxelder trees or other suitable surfaces. These eggs hatch into bright red nymphs within a few days to a couple of weeks, depending on environmental conditions. The nymphs go through several molts, gradually developing black markings and wings as they mature into adults. This entire process from egg to adult typically spans about two months.
As for their habitats, box elder bugs are predominantly found in areas where their primary food source—the seeds and leaves of boxelder trees—is abundant. However, they are also known to inhabit regions with other maple species or ash trees. During warmer months, these insects thrive outdoors in gardens, forests, and along riverbanks where host trees grow.
When temperatures drop in the fall, box elder bugs seek shelter to survive the winter months. They often invade homes and buildings by squeezing through small cracks or gaps around windows and doors. Inside these structures, they remain largely inactive until spring when warmer weather prompts them to return outdoors.
Understanding where do box elder bugs live throughout the year is crucial for effective management strategies. By identifying their preferred habitats and lifecycle stages, homeowners can take preventive measures such as sealing entry points and removing host plants near buildings to reduce infestations.
The Impact of Box Elder Bugs on Homes and Gardens
Box elder bugs, often recognized by their distinctive red and black markings, are a common sight in many regions. While they might seem harmless at first glance, their presence can lead to significant concerns for homeowners and gardeners alike.
One of the primary questions people ask is: “Are box elder bugs harmful?” The answer is somewhat nuanced. Box elder bugs do not bite humans or pets, nor do they cause structural damage to homes. However, they can become a nuisance when they gather in large numbers, particularly during the fall when they seek shelter indoors to escape the cold. This behavior can lead to what is known as a box elder bug infestation.
In the garden, these pests primarily feed on the seeds of box elder trees but can also be found on other plants such as maple and ash trees. While their feeding habits rarely cause severe damage to mature plants, young saplings and ornamental plants may suffer from their activity. Gardeners should be vigilant in managing these pests to prevent potential harm.
To mitigate the impact of box elder bugs on homes and gardens, it’s essential to take proactive measures such as sealing entry points around windows and doors and maintaining a clean yard free of debris where these bugs might congregate. By understanding their behavior and implementing effective control strategies, you can minimize the nuisances associated with box elder bug infestations.
Effective Methods for Controlling Box Elder Bug Infestations
Box elder bugs can be a nuisance, especially during the fall when they seek shelter in homes. Understanding effective methods for controlling box elder bug infestations is crucial for maintaining a pest-free environment.
One of the most straightforward ways to get rid of box elder bugs is through preventative measures. Sealing cracks and crevices around windows, doors, and foundations can prevent these pests from entering your home. Additionally, repairing damaged screens on windows and vents can serve as an effective barrier.
For those who prefer natural remedies for pests, there are several options available. Spraying a mixture of water and dish soap directly on the bugs can help eliminate them without harmful chemicals. Essential oils like tea tree oil or lavender oil are also known to repel box elder bugs when sprayed around entry points.
Another method involves physical removal using a vacuum cleaner to suck up the bugs that have already made their way indoors. This approach is quick and avoids the use of pesticides.
For more persistent infestations, professional pest control for box elders may be necessary. Pest control experts can apply targeted treatments that effectively reduce bug populations while ensuring safety for your household.
Preventing Future Infestations of Box Elder Bugs
Box elder bugs can be a nuisance, especially when they invade your home in large numbers. To prevent future infestations, it’s essential to take proactive steps to keep these pests at bay. Here are some effective pest prevention tips to help you maintain a bug-free environment.
First and foremost, sealing entry points is crucial in preventing pests in the home. Inspect your windows, doors, and any other potential entryways for cracks or gaps that box elder bugs could use to get inside. Use caulk or weatherstripping to seal these openings effectively.
Next, consider installing screens on vents and chimneys. Box elder bugs often seek warmth during cooler months and may enter through these less obvious routes. Fine mesh screens can act as an additional barrier against their intrusion.
Maintaining cleanliness around the exterior of your home is another key measure in how to prevent boxelder bugs from returning. Remove any debris, such as fallen leaves or wood piles, which can serve as hiding spots for these insects. Additionally, trimming back vegetation that touches your home’s walls will reduce their access points.
Lastly, consider using natural repellents like diatomaceous earth or essential oils such as clove oil around potential entry points and areas where box elder bugs have been spotted before. These substances can deter the pests without introducing harmful chemicals into your living space.
By implementing these pest prevention tips consistently, you can significantly reduce the likelihood of future box elder bug infestations and enjoy a more comfortable living environment free from unwanted intruders.

Hookworms are a serious parasitic threat to dogs, causing significant health issues if untreated. These tiny parasites latch onto the intestinal walls, leading to severe symptoms. Understanding causes, early symptoms, and effective treatments is crucial for dog owners. This guide covers hookworm transmission, infection signs, treatment options, and preventive measures to keep your dog healthy and parasite-free.
What Hookworms and How They Affect Dogs
Hookworms are a type of intestinal parasite that can cause significant health issues in dogs. These tiny, thread-like worms attach themselves to the lining of a dog’s intestines and feed on the animal’s blood, leading to various symptoms and complications. Understanding what hookworms are and how they affect dogs is crucial for any pet owner.
Hookworms in dogs are commonly transmitted through ingestion of larvae from contaminated soil or feces, or through skin contact with larvae that penetrate the skin. Puppies can also acquire hookworms from their mother’s milk. Once inside the host, these parasites latch onto the intestinal wall and begin feeding on blood, which can lead to anemia, weight loss, diarrhea, and lethargy.
Canine hookworm infection is particularly dangerous for puppies due to their smaller size and developing immune systems. Severe infestations can be life-threatening if not treated promptly. Symptoms may include pale gums due to anemia, dark tarry stools indicating blood loss in the intestines, and general weakness.
Preventing hookworm infection involves regular deworming treatments prescribed by a veterinarian and maintaining good hygiene practices such as cleaning up after your dog promptly. Regular veterinary check-ups are essential for early detection and treatment of these parasites to ensure your dog’s health and well-being.
How Do Dogs Get Hookworms?
Hookworm infections in dogs are a common and concerning health issue. Understanding the causes of hookworms in dogs can help pet owners take preventive measures to protect their furry friends. Hookworms are intestinal parasites that attach to the lining of a dog’s intestines, feeding on their blood and causing significant health problems.
The primary transmission of hookworms occurs through various sources of infection. One common way dogs get hookworms is by ingesting larvae from contaminated soil or feces. These larvae can penetrate the skin, especially through the paws or belly, when a dog walks on infested grounds. Additionally, puppies can acquire hookworms from their mother’s milk if she is infected.
Another route for transmission is through the ingestion of infected prey animals such as rodents. Dogs that hunt or scavenge may consume these animals and subsequently become infected with hookworms. Furthermore, environments with poor sanitation and high population densities increase the risk of spreading these parasites.
By understanding how dogs get hookworms and recognizing potential sources of infection, pet owners can take proactive steps to minimize exposure and maintain their dog’s health. Regular veterinary check-ups, proper hygiene practices, and preventative treatments are crucial in managing and preventing hookworm infections in dogs.
Signs Your Dog Might Have Hookworms
Hookworms are a common parasitic infection in dogs that can lead to serious health issues if left untreated. Detecting hookworm symptoms early is crucial for ensuring your pet receives prompt and effective treatment. Here are some key signs of hookworm in dogs to watch out for:
1. Weight Loss: One of the primary symptoms of hookworm infection in dogs is unexplained weight loss. This occurs because the parasites feed on your dog’s blood, depriving them of essential nutrients.
2. Diarrhea: Persistent diarrhea, often accompanied by blood or mucus, is another common sign of hookworm infestation. This symptom results from the irritation and damage caused by the worms attaching to the intestinal lining.
3. Anemia: Hookworms can cause significant blood loss, leading to anemia. Signs of anemia include pale gums, lethargy, and weakness. If you notice these symptoms, it’s important to consult a veterinarian immediately.
4. Poor Coat Condition: A dull or rough coat may also indicate a hookworm infection as the parasites affect your dog’s overall health and vitality.
5. Coughing: In severe cases, larvae may migrate through your dog’s lungs causing respiratory issues such as coughing or difficulty breathing.
Early detection and treatment are vital for managing hookworm infections effectively. Regular veterinary check-ups and fecal examinations can help detect these parasites before they cause significant harm to your furry friend’s health.
Treatment Options for Hookworm Infections in Dogs
Treating hookworms in dogs is essential to ensure the health and well-being of your furry friend. Hookworm infections can cause significant discomfort and serious health issues if left untreated. Fortunately, there are several effective treatment options available.
The primary treatment for canine hookworm infection involves the use of deworming medication for dogs. These medications, often administered orally, work by eliminating the adult hookworms residing in the dog’s intestines. Commonly prescribed dewormers include drugs such as fenbendazole, milbemycin oxime, and pyrantel pamoate. These medications are generally safe when used as directed by a veterinarian.
In addition to medication, it is crucial to maintain good hygiene practices to prevent reinfection. This includes regularly cleaning up after your dog and ensuring their living environment is kept clean and free from fecal matter where hookworm larvae can thrive.
Veterinarians may also recommend follow-up treatments and regular fecal examinations to ensure that all hookworms have been eradicated from your dog’s system. Preventative measures such as routine deworming schedules can help protect your dog from future infections.
How to Protect Your Dog from Hookworms
Preventing hookworm infections in dogs is crucial for maintaining their overall health and well-being. Hookworms are parasitic worms that can cause severe anemia, weight loss, and even death if left untreated. Therefore, understanding how to prevent dog parasites is essential for every pet owner.
One of the most effective canine parasite prevention strategies is regular veterinary check-ups. These visits allow your vet to perform routine fecal examinations to detect any signs of hookworm infection early on. Additionally, veterinarians can recommend appropriate deworming medications tailored to your dog’s specific needs.
Maintaining a clean living environment is another key aspect of preventing hookworm infections in dogs. Ensure that your yard and home are free from fecal matter by regularly cleaning up after your pet. Hookworms thrive in moist, contaminated soil, so keeping your dog’s living area dry and sanitary can significantly reduce the risk of infection.
Using preventive treatments such as monthly heartworm medications that also protect against intestinal parasites can be highly effective. These treatments not only prevent hookworms but also safeguard against other common parasites like roundworms and whipworms.
Lastly, practicing good hygiene by washing your hands thoroughly after handling soil or cleaning up after your dog can help prevent the spread of hookworms to humans and other pets.
Conclusion- Ensuring Your Dog’s Health with Proper Care and Vigilance Against Hookworms
Ensuring your dog’s health requires a combination of proper care and vigilance, especially when it comes to preventing hookworm infections. Hookworms are intestinal parasites that can cause significant health issues for dogs, including anemia, weight loss, and lethargy. To protect your furry friend from these harmful parasites, it’s essential to maintain a regular deworming schedule as recommended by your veterinarian.
In addition to deworming, practicing good hygiene is crucial. Ensure that your dog’s living environment is clean and free from fecal matter, as hookworms are often transmitted through contaminated soil or feces. Regularly clean up after your pet during walks and in the yard to reduce the risk of infection.
Monitoring your dog’s health closely can also help in early detection and treatment of hookworms. Watch for signs such as diarrhea, bloody stools, or sudden weight loss. If you notice any of these symptoms, consult your veterinarian immediately for a thorough examination and appropriate treatment.
By combining routine veterinary care with proactive measures at home, you can significantly reduce the risk of hookworm infections and ensure that your dog remains healthy and happy. Remember that prevention is always better than cure; staying informed and vigilant about potential health threats will go a long way in safeguarding your pet’s well-being.


Wahoo Fishing (Tips, Techniques, and Gear)

Things to Do in Salt Lake City (Attractions, Activities, and More)

7 Things to Do in Pigeon Forge with Kids- Creating Unforgettable Family Memories

How to Measure Ring Size Accurately at Home

How to Unclog a Toilet (A Step-by-Step Guide for Quick and Easy Fixes)
Things to Do in Salt Lake City (Attractions, Activities, and More)
-
 Fashion
How to Measure Ring Size Accurately at Home
-
 Home & Family
How to Unclog a Toilet (A Step-by-Step Guide for Quick and Easy Fixes)
-
 Destinations
Things to Do in Salt Lake City (Attractions, Activities, and More)
-

 Food & Beverage
What is Boba Made Of and How to Make It
-

 Internet Business
How to Handle Blackmail on Snapchat (A Guide to Protecting Yourself)
-
 Home & Family
Box Elder Bugs- Identification, Habitats, and Control
-
 Fishing
Wahoo Fishing (Tips, Techniques, and Gear)
-
 Destinations
7 Things to Do in Pigeon Forge with Kids- Creating Unforgettable Family Memories